Oct 14, 2020article & images byNick Salazar
UPDATE: Nov 6th, 2021
Project M1 is NOW IN PRODUCTION, and will be available in the store very soon. As soon as we have a final production sample in hand, we will release a detailed walkthrough video showing off all the delightful and intricate details of this definitive replica. Thank you for your patience, and check back soon!
UPDATE: June 19th, 2021
An incredible opportunity has arisen with regard to Project M, one I am very happy to report will significantly improve this project in every way. We were granted exclusive access to an actual, screen-used Darth Maul lightsaber prop from the production of Episode I, in order to perfect our replica! Not only that, but this particular example was the most pristine Maul saber I've ever seen - it was obviously one of the first hilts out of the mold, and its details were extremely sharp. Many of the screen-used examples we've seen previously (including the eFX casting) are later examples where the mold was getting a little worn, and details were getting a little smudged over. This example was without a doubt the most beautiful Maul saber I've ever seen, and it clarified or revealed a lot of great details which were ambiguous in other examples . I was extremely honored and excited to get this opportunity. Later I will describe what was learned, and how it will affect our replica. But suffice it to say, ours will be the definitive version of this iconic saber. Most importantly, production is going to proceed in the next 3 months or so. Thanks for your patience!
Prologue
When I first saw the trailer for the Phantom Menace in 1998, I fell in love with Darth Maul's beautiful double-bladed lightsaber hilt. Ever since then, I have been working on making the perfect replica. I have worked on many other sabers in the past. But in the case of Maul, even with perfect references and unlimited creative possibilities, the task of replicating the saber poses so many questions. Of all the main characters in the history of the Star Wars universe, Maul's saber is the only one whose hero prop was a casting. This is due to the fact that Ray Park, the actor who played Maul, saw his character's original saber (supposedly there is some original machined version somewhere), and requested that it be changed to be made longer, in order to better use the weapon and perform his role. To most people, it is obvious that his request was a good one, and made for some absolutely amazing battle sequences in The Phantom Menace. In my opinion, Maul's lightsaber technique and on-screen visuals were the best in Star Wars film history, and his saber is my absolute favorite. I have made several versions of this saber, owned several versions, yet nothing has ever met the high mark of what I would call "perfection."
So, what are my credentials? I have been a lightsaber designer for over 20 years. I have worked with many others in the industry, including providing designs to Larry Leung ("Larbel"), Erik Hertzberg (Acerocket/Watto's Junkyard), as well as everything on Saberz.com. In 2008, I helped Erik launch a version of the Obi-Wan TPM that has, since that time, been considered a benchmark of accuracy for that hilt - you can see the original thread here on The RPF, and keep your eyes peeled for a Project O coming from me very soon.
If you look at the history of my designs, especially my obsession with the Obi-Wan Episode I hilt, you will find that my reputation for accuracy is very high.
Now, let's talk about the Maul saber. As mentioned before, the hero prop is the only lightsaber in Star Wars history to be a non-machined, molded piece, made from re-cast and re-assembled parts. Even though there was some metal source material used to design the prop, the only parts that appear on-screen in the film were made from resin-cast pieces and fender washers. This presents some very important design considerations when making the "perfect" replica, because there is so much inconsistency from part to part. Although there are many repeated elements on the saber, there's a lot to consider when replicating these elements. Below, I have documented the process by which I considered and replicated all the elements of this iconic hilt, and why I consider Project M to be the best replica ever made.
Design Intro
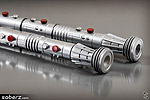
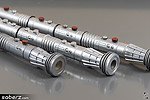
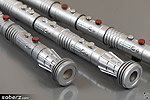
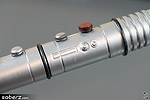
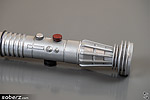
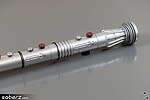
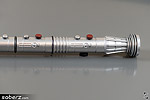
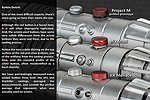
There are so many design elements of the Darth Maul lightsaber worth discussing. At first blush, it's a very simple design. But when we take a deep dive, it is easily the most complicated saber I have ever studied. So it's tough to know where to begin. But perhaps it would be best to start all the way on the outside, and discuss surface finish. The exterior of every Maul saber used for The Phantom Menace was covered in automotive paint. We spent a lot of time studying and replicating the paint. The 3D printed prototype you see in the images here is NOT representative of that study, it's just some hardware-store rattlecan paint. The final product will match the production props exactly. While our replica will be entirely made of T6-6061 aircraft-grade aluminum, and further protected by hard-anodization treatments, we will apply a screen-accurate paint application to finish the prop perfectly.
Moreover, all screen-used sabers were all resin bodies. That is, NONE of the screen-used props were actually metal. So to replicate what was used in the movie means using a painted finish, and finding the exact paint used. Although many replicas are made of machined metal, plated metal, or powder-coated metal, no one has ever used the same metallic paint to finish an alreadyu-metal saber body. But that is what must be done for a completely accurate Maul saber. Making a proper replica means finding the exact qualities of the original paint, and replicating it. I researched paints extensively, spending hundreds and hundreds of dollars on swatch books, samples, and protoype parts, to find the perfect paint qualities. And I found them! With the right paints and the right finishes, I could replicate the saber.
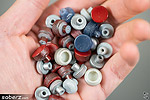
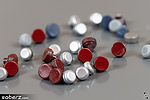
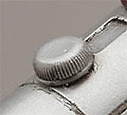
Next, and even more important, is simply determining the dimensions we will use for any given part on the saber. Given that everything was molded, nothing on the screen-used props was perfectly consistent. And for the few parts that were found items (in this case, the red button, the silver button, the LED, the rivet, and the Covertec clip), the cast props never perfectly replicated the real-world item from which they were molded. So replicating those parts means facing some serious challenges and choices. Almost every single part, section, and dimension of the saber is worth some level of discussion.
At the outset, let's mention the inconsistent outer diameters on all of the main body parts! The castings were oblong. That is, if you measure the outer diameter of the original cast prop, you will get inconsistent measurements around the axis of the part. Said otherwise, that means the screen-used parts had very-slightly oblong (non-circular) outer diameters. So what's the best way to replicate the prop? Given that the elliptical nature was very slight (and *almost* circular), should we attempt to replicate it? Or should we just use the minimum outer diameter? Or the maximimum? Or an average? These can be tough questions. We opted to use circular outer diameters, using an average measurement.
However, not every seemingly-cylindrical section was, in fact, cylindrical (even after correcting for circular cross sections). That is, they aren't perfect tubes. Almost every such element is somewhat conical, meaning that the outer diameter is not consistent from beginning to end. This is a natural artifact of molding and casting. But, again, we want to replicate the part perfectly, we again want to find what elements of this artifact are worth replicating in their imperfect state, and which elements should be smoothed out or 'perfected.'
Jump to the next page, and we will discuss more of the individual design elements.
Project M: Prototypes
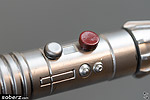
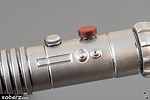
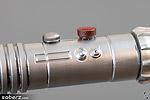
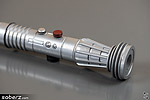
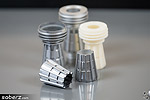
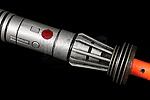
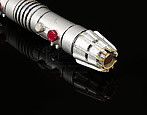
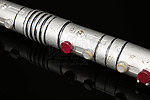
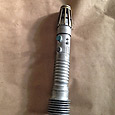
Prototype parts and study pieces from our development of this iconic sabers. The full sabers shown here are 3D prints, meant only to illustrate the 3D design, and not representative of final production quality or finishing.
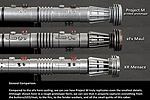
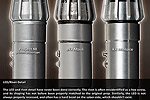
Project M: Comparisons
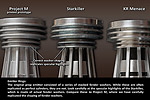
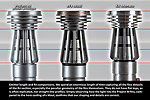
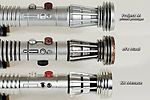
Showing our Project M printed prototype compared to our primary physical reference (the eFx casting) as well as the KR Menace saber (by request).
Selected Image References
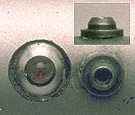
These are some of the images we used to reference various elements of the saber, in addition to the physical parts we had on hand. Note, not all of these are images of the Maul saber. Some are other sabers that had identical design elements (like the silver button, the rivet detail, etc), and were valuable references for those specific elements.

